08 Dec 2019
The original plans for the printer did not include insulation for the heated bed. After reading some reviews on the printer one of the complaints was it took too long to come up to heat and struggled to stay up to heat. I decided to try and fix that problem by insulating the bed.


beginning to wire


24 Dec 2019
The original heated bed came with an 120v AC mechanical thermostat that would have a 10c temp swing around the target temp. I wanted something a little more accurate. Unfortunately to have the motherboard control the heated bed with DC power would take a much larger more expensive powersupply. I opted for a SSD, solid state relay, to control the bed with AC power from the wall socket @120 volts. The benefits are the motherboard can control the SSD with only a 5 volt control signal, Marlin firmware can use PID temp control which can keep the bed within +- 2 degrees c, the bed heats up faster and no need to upgrade the power supply.

When assembling the filament extruders one of the extruders would not push filament. After closer examination of the extruder the tolerances were off on the tensioner, the motor shaft was larger than the hole it was suppsed to spin freely in. I reemed it out and re assembled.


06 Sept 2021
I noticed on lager prints I was getting noticable z wobble

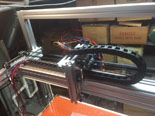
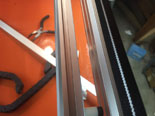
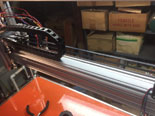
I had seen other printers that use belts instead of lead screws to eliminate z wobble. I updated the z axis with linear motion rails and 15:1 geared steppers. The geared steppers are to keep the z axis from droppinging when the power is off.
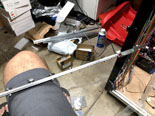


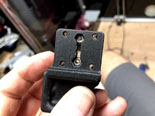


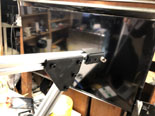

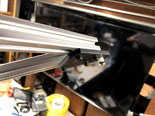
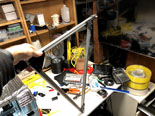


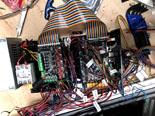
I chose to use 3 stepper motors to move the z axis instead of 1 motor and a series of pulleys and belts for the simplicity and the ability to have the printer level the bed in software...but because I added 2 more stepper motors I had to upgrade the motherboard because the current board had 6 stepper driver sockets and I needed 7. I already had a BTT GTR V1 board, which also only has 6 sockets but it also has an expansion board that added an additional 5 driver sockets...time to swap out the board.

1st test print after the conversion....no z wobble!!

----------------
----------------
